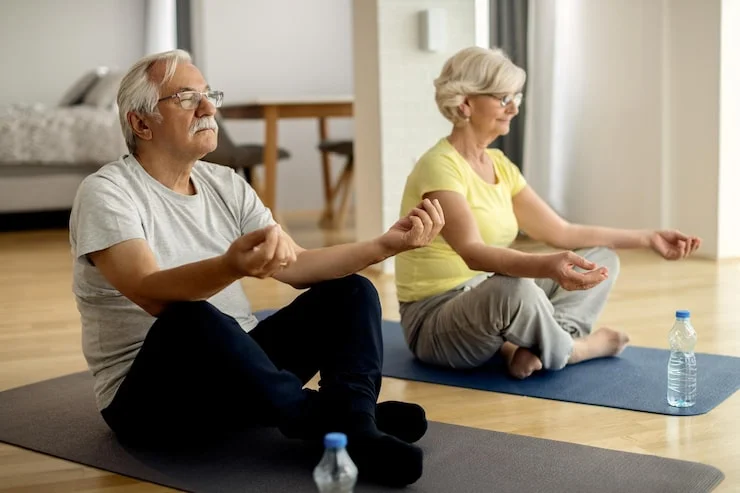
Yoga offers a practical way for older adults to stay active, improve balance, and maintain independence—all from the comfort of home. Many seniors hesitate to begin because they worry about getting down on the floor, keeping up with a class, or causing injury. The good news is that yoga can be adapted to meet you exactly where you are, whether you prefer standing poses, seated movements, or a mix of both.
This guide walks you through the benefits, safety considerations, specific poses, and a complete home routine designed for older adults. Every movement can be done in your living room with a sturdy chair and yoga for seniors at home.
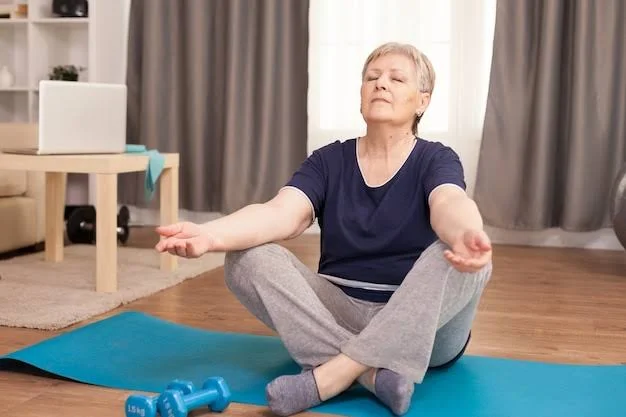
Aging brings changes that affect how the body moves. Muscles lose mass, joints stiffen, and balance becomes less reliable. These shifts can make everyday activities—reaching for a high shelf, getting out of a car, walking on uneven ground—feel harder than they used to.
Yoga addresses these changes directly. Research involving older women in residential care found that a four-week structured yoga program improved lower body function, grip strength, cognitive scores, and psychological well-being . The improvements were measured, not just reported: physical performance rose by over nine percent, grip strength by more than thirteen percent, and well-being scores by nearly thirty-four percent .
Beyond the numbers, yoga helps with the tasks that matter most. It strengthens the muscles you use to stand up from a chair. It teaches your body to find stability when weight shifts. It opens tight hips and shoulders that have grown accustomed to sitting. And because it includes breathing and focused attention, it also calms the mind.
Read Also: Yoga Stretches For Tight Hips
Yoga is generally safe for older adults, but it is not risk-free. People over 65 have a higher rate of yoga-related injuries than younger practitioners . That does not mean you should avoid yoga—it means you should approach it thoughtfully.
Talk to your doctor before starting, especially if you have heart conditions, uncontrolled blood pressure, severe osteoporosis, recent surgery, or a history of falls . Your doctor can tell you if any movements should be avoided or modified.
Choose the right chair. A sturdy chair without wheels or arms works best. Arms can get in the way of side bends and twists. The chair should feel solid when you press down on it or shift your weight .
Set up your space. Place your chair on a non-slip surface. Keep the area around you clear of clutter. Have good lighting so you can see your movements. If you plan to stand for any poses, place the chair against a wall so it cannot slide backward .
Listen to your body. The goal is steady, comfortable movement—not pushing through pain. A mild stretch is fine. Sharp pain, numbness, or dizziness means stop. You can always try again another day or modify the movement to make it gentler .
Chair yoga is not a watered-down version of “real” yoga. It is a complete practice adapted for people who need support, whether that means staying seated, using a chair for balance during standing poses, or both .
The chair serves two purposes. It gives you a stable place to sit while you stretch, twist, and strengthen. It also acts as a support when you want to stand but need something to hold for balance. This makes it possible to practice safely even if your balance is not what it used to be .
The benefits are the same as traditional yoga: improved flexibility, stronger muscles, better balance, reduced stress, and better sleep . The difference is accessibility. You do not need to get down on the floor. You do not need to hold a standing pose for a long time. You can stop and rest whenever you need to.
The routine below takes about twenty to thirty minutes. Move through the poses in order. If you feel tired, rest for a few breaths and continue. You can also split the routine into two shorter sessions—morning and evening, for example.
Sit toward the front edge of your chair with your feet flat on the floor, about hip-width apart. Rest your hands on your thighs. Close your eyes if that feels comfortable, or soften your gaze downward.
Take a slow breath in through your nose. Feel your ribs expand. Let the breath out slowly, allowing your shoulders to drop. Continue for five to eight breaths. This brief pause helps you shift from doing mode into practice mode .
From your seated position, sit up tall. Imagine a string gently pulling the crown of your head toward the ceiling. Roll your shoulders back and down. Let your arms rest at your sides or on your thighs. Keep your chin level with the floor.
Hold for five breaths. This simple posture teaches your body what good alignment feels like—spine long, chest open, shoulders relaxed .
Place your hands on your thighs. As you inhale, arch your back gently, lift your chest, and look slightly upward. As you exhale, round your back, drop your chin toward your chest, and let your shoulders come forward.
Move slowly between these two positions, matching your breath to the movement. Repeat eight to ten times. This warms up the spine and eases tension in the back .
Sit tall. Raise your right arm overhead. As you exhale, bend to the left, reaching your right arm over your head. Keep your left hand resting on the chair or your thigh for support. Feel the stretch along the right side of your yoga for seniors at home.
Hold for three breaths. Return to center. Repeat on the other side. Do this two or three times on each side .
Sit tall with your feet flat. Place your left hand on your right knee. Place your right hand on the back of the chair or the seat behind you. As you exhale, gently turn your torso to the right. Keep your hips facing forward and your spine long.
Hold for three to five breaths. With each inhale, sit a little taller. With each exhale, allow the twist to deepen slightly—but never force it. Return to center and repeat on the other side .
From a tall seated position, lift your right ankle and place it across your left thigh, just above the knee. Flex your right foot. If this already feels like a good stretch, stay upright and breathe.
If you want more, hinge forward slightly from your hips, keeping your back flat. Rest your hands on your shins or the edge of the chair. Hold for five to eight breaths. Uncross and repeat on the other side .
Sit tall with both feet on the floor. Inhale and reach your arms overhead. As you exhale, hinge forward from your hips, letting your torso come toward your thighs. Let your hands rest on your legs, the chair seat, or the floor if they reach.
Keep your back as straight as comfortable. Let your head relax. Hold for five breaths, then slowly roll up to sitting .
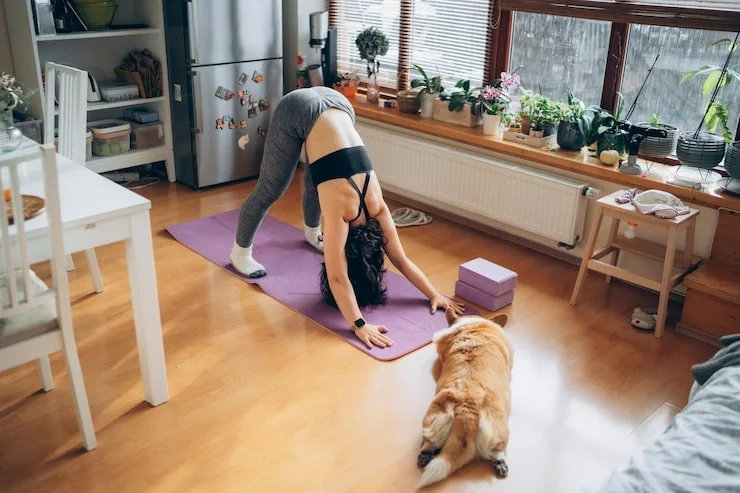
Stand behind your chair, facing the seat. Place your hands on the back of the chair, shoulder-width apart. Step your feet back until your body forms an L shape—hips over heels, spine long, arms straight. Your feet should be wider than your hips.
Press into the chair with your hands. Let your chest melt toward the floor. Keep your neck relaxed. Hold for three breaths. Step forward and rest .
Sit tall in your chair. Extend your legs forward. Bend your right knee and place the sole of your right foot against the inside of your left calf or ankle—wherever it rests comfortably. Press your left foot into the floor.
Bring your hands together at your chest or rest them on your thighs. Focus your gaze on one point in front of you. Hold for five breaths. Release and repeat on the other side .
You May Also Like: Yoga Poses for Two People: Build Strength & Connection Plus
Lie on your back with your hips about a foot away from the chair. Rest your calves on the seat of the chair, with your knees bent at about a ninety-degree angle. Let your arms rest at your sides.
Close your eyes if you like. Breathe slowly. Stay here for one to three minutes. This pose allows your lower back to release and your legs to rest without pressure .
Return to sitting in your chair. Close your eyes. Let your hands rest in your lap. Take five slow, deep breaths. Notice how your body feels—warmer, looser, calmer. When you are ready, open your eyes and return to your day.
Aim for two to four sessions per week . If you feel good, you can practice more often. If you feel tired or sore, take a day off. Consistency matters more than intensity. A short practice done regularly will help you more than a long practice done once in a while.
As the movements become familiar, you can add new poses. The standing poses from traditional yoga—Warrior Two, Tree Pose with chair support, Low Lunge—can all be adapted for home practice with a chair nearby for balance . Start with the seated routine and add standing poses when you feel steady.
The changes come gradually, but they do come. After a few weeks, you may notice it is easier to stand up from a chair. Reaching for something on a high shelf might not require as much effort. You might feel steadier when you walk. And you may find that the breathing and stillness at the end of practice helps you sleep better or handle stress with more ease.
Disclaimer: SPIRITUAL DEVOUT claims no credit for images featured on our blog site unless otherwise noted. All visual content is copyrighted to its respectful owners.